DIY Insulated Food Carrier for Day Walks: Materials, Methods, Variations and Troubleshooting
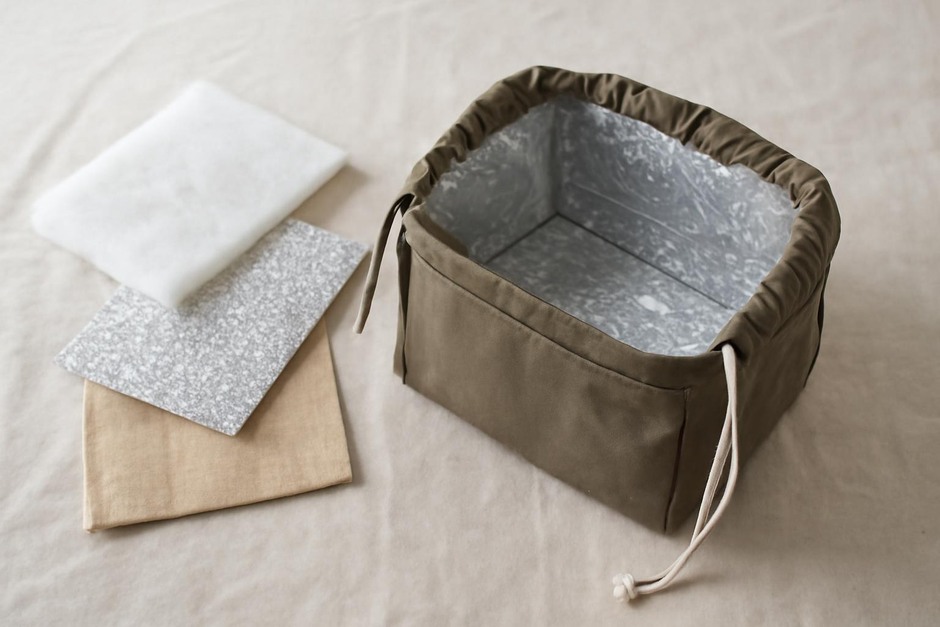
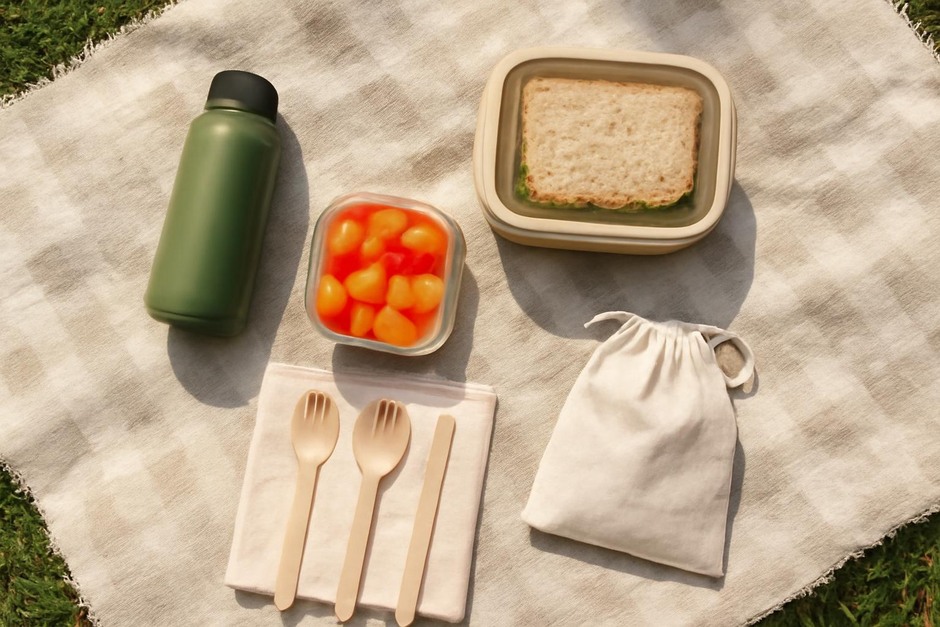
An insulated food carrier lets you keep a lunch cool or warm for a few hours without relying on ice packs or large containers. This article compares common materials and methods with balanced trade-offs, then gives a clear step-by-step build followed by practical variations and troubleshooting tips.
Materials and trade-offs (brief)
- Insulation cores
- Closed-cell foam (EVA, polyethylene): lightweight, moisture resistant, good structure; thicker pieces add bulk.
- Polyester batting: compressible, easy to sew, moderate thermal value; absorbs moisture unless laminated.
- Wool: naturally wicks moisture and insulates when damp; heavier and pricier, may compress over time.
- Reflective foil/Mylar liners: adds radiant-barrier performance, very thin; poor at resisting conductive heat without foam underneath.
- Outer fabrics
- Ripstop nylon: light, water-resistant, easy to clean; can be noisy and less durable against abrasion.
- Waxed canvas: robust, attractive, naturally water-shedding; heavier and needs care.
- Neoprene: inherently insulating and flexible; sewing can be challenging and it is heavier.
- Closures and structure
- Zippers give a neat seal but can jam; roll-top or drawcords are simple and forgiving.
- Removable insulating inserts make cleaning easier; fixed liners reduce shifting of insulation.
Step-by-step method: a simple sewn insulated tote (approx. 25 × 18 × 12 cm)
Tools: fabric scissors, measuring tape, pins or clips, sewing machine (or heavy-duty hand needle), straight and zigzag stitch. Materials: outer fabric, inner waterproof lining (PEVA or laminated nylon), closed-cell foam or batting cut to size, zipper or drawstring, optional thin Mylar sheet.
- Cut pieces: Cut two outer panels and two lining panels to the finished size plus 1.5 cm seam allowances. Cut foam pieces to match the panels, omitting seam allowances so insulation fits inside the seam.
- Prepare the lining: If using a waterproof lining, fold and sew the bottom and side seams of the lining panels right sides together, leaving the top open. Turn it out briefly to check fit.
- Attach insulation: Place foam or batting against the wrong side of each outer panel and baste in place with large stitches or with fabric adhesive designed for the material. If using reflective foil, insert it between the foam and lining for radiant barrier effect.
- Sew outer shell: With insulation attached, sew the outer panels right sides together at sides and bottom. For box corners, pinch a square at each corner equal to the width of the base, sew across and trim the excess to form the base shape.
- Insert lining: Slip the lining into the outer shell with wrong sides facing, aligning seams. Fold the top edges of both lining and shell inward 1–1.5 cm and pin evenly.
- Attach closure: Sew a zipper across the top through both layers, or stitch a casing to thread a drawcord. If using a zipper, sew slowly through all layers with a suitable needle and zipper foot.
- Finish: Turn the bag right-side out and press gently. Add handles by sewing straps to the sides or top, reinforcing with a box stitch. If the insulation was removable, test that it slides in smoothly.
Variations
- Ultralight option: Use thin closed-cell foam (2–3 mm) plus a Mylar liner and ripstop nylon outer to shave weight. Best for short durations in mild conditions; less effective for extended holding times.
- Robust picnic tote: Waxed canvas outer, thicker foam, and a sewn-in waterproof lining make a sturdier bag for two; heavier but more durable and spill-tolerant.
- No-sew approach: Use ready-made insulated pouches or foldable coolers as cores, and wrap with a decorative outer fabric secured with Velcro or snaps. Useful if you lack sewing tools.
- Modular system: Make removable insulating inserts sized to fit different outer shells—switch a thick wool insert for winter outings and a thin foam for summer.
Troubleshooting and care
- Poor insulation: Check for gaps at seams. Adding a thin reflective layer under the lid and ensuring the closure seals fully will improve performance more than simply adding bulk.
- Insulation shifting: Baste or quilt the insulation to the lining at a few anchor points. Removable inserts are convenient but require a snug fit to avoid movement.
- Zipper jams or failure: Use a heavier zipper for thicker builds; clear tangles with gentle work and a lubricant like beeswax if needed. Consider a roll-top if dirt and grit are expected.
- Odors or stains: Removable liners or inserts make cleaning easier. For fixed liners, wipe with mild soap and air-dry thoroughly. Wool may require special care—airing often is effective at removing odors.
- Condensation inside: If warm food causes condensation, create a vapor barrier by adding a thin waterproof lining or using airtight containers for wet items.
Choosing materials and construction depends on how you balance weight, durability, and thermal performance. A simple sewn tote with closed-cell foam and a waterproof lining performs well for day walks; variations let you tailor the carrier to longer outings, two-person picnics, or no-sew builds. Small adjustments—adding a reflective layer, quilting the insulation, or opting for a roll-top—address common issues without large redesigns.